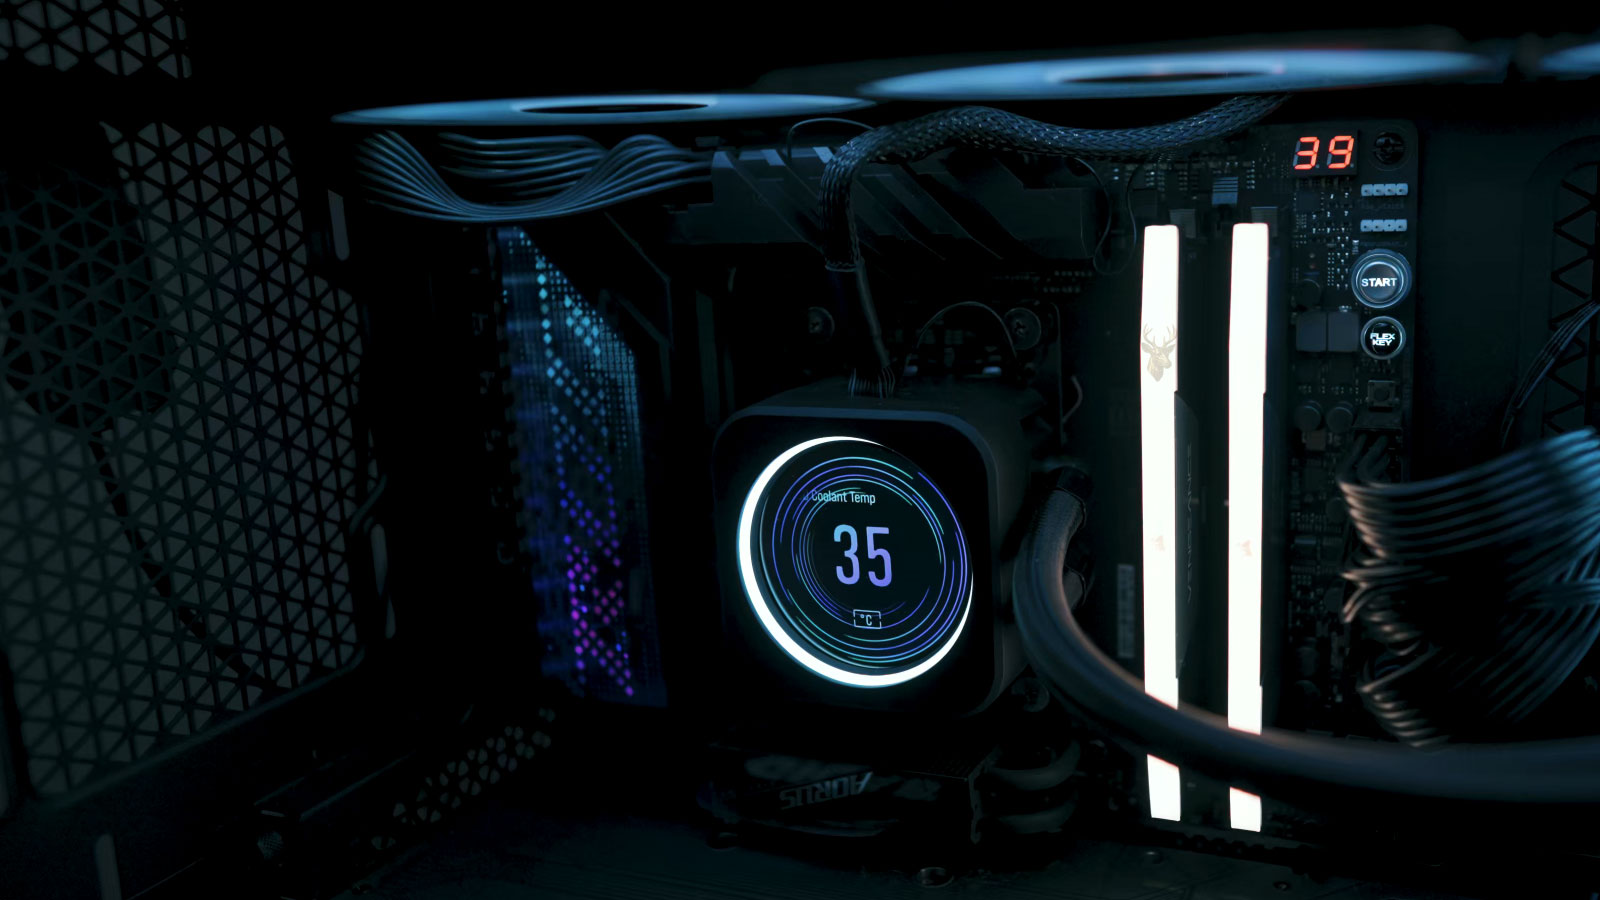
Computer Cooling Depends on Temperature Information
A modern computer does not run every cooling fan at one fixed speed. The processor, motherboard, graphics system, firmware, and operating system work together to adjust cooling according to temperature, power use, and workload.
When the computer is idle, fan speed may fall until the system becomes nearly silent. As the processor begins handling demanding software, temperature readings rise and the motherboard increases fan speed. If cooling becomes inadequate, the processor can reduce performance or shut the computer down to protect itself.
This behavior depends on accurate thermal information and correctly configured fan controls. A computer that reports an unusual temperature may not necessarily have a failed processor. The reading can also be affected by cooling contact, sensor interpretation, firmware settings, fan connections, room temperature, or monitoring software.
The Processor Contains Multiple Thermal Sensors
Modern processors commonly contain several internal temperature sensors rather than one simple thermometer. These sensors monitor different areas of the chip and provide information that can be used for cooling control and thermal protection.
Individual processor cores may report slightly different temperatures because each core can be performing a different amount of work. Monitoring software may show the temperature of every core, an average value, a package reading, or the highest active sensor.
| Temperature Reading | General Meaning |
|---|---|
| Core temperature | Reading associated with an individual processor core |
| CPU package temperature | Combined or representative reading for the processor package |
| CPU socket temperature | Motherboard reading from the area around or beneath the processor socket |
| Maximum core reading | Highest temperature currently reported by any processor core |
| Distance to thermal limit | Remaining margin before the processor reaches a defined protection point |
Different utilities may display different values because they are not always reading or labeling the same sensor.
Temperature Readings Change Rapidly With Processor Workload
Processor temperature can rise within seconds when a demanding task begins. Video encoding, software installation, file compression, gaming, antivirus scanning, and system updates can place a heavy load on several processor cores at once.
When the workload ends, the temperature may fall quickly. Rapid changes are normal because the processor die is small and can change power consumption almost immediately.
- Idle temperatures are usually lower because the processor reduces voltage and clock speed.
- Short temperature spikes can occur when applications open or background tasks begin.
- Sustained workloads keep temperatures elevated longer.
- Fan speed may increase after a slight delay rather than reacting instantly.
- Temperature should decline when the workload is removed and cooling is working properly.
A single brief spike provides less diagnostic information than a temperature that remains unusually high during ordinary use.
Fan Curves Determine How Cooling Responds
A fan curve is a set of instructions that tells the motherboard how quickly a fan should run at different temperatures. At lower temperatures, the fan may run slowly or stop completely. As temperature rises, the motherboard increases the control signal and the fan accelerates.
A quiet computer and a cool computer are not always configured with the same fan curve.
Manufacturers often provide quiet, standard, performance, and full-speed profiles. A quiet profile may allow higher temperatures before increasing fan speed, while a performance profile may respond earlier and produce more noise.
| Fan Profile | Typical Behavior |
|---|---|
| Silent or quiet | Allows slower fan speeds and higher temperatures during light use |
| Standard | Balances noise and cooling for general operation |
| Performance | Raises fan speed sooner during increasing temperature |
| Full speed | Runs the fan near its maximum regardless of normal temperature changes |
| Custom curve | Uses manually selected temperature and fan-speed points |
Three-Pin and Four-Pin Fans Use Different Control Methods
Computer fans commonly use three-pin or four-pin connectors. Both types provide power and a speed-reporting signal, but they may be controlled differently.
A three-pin fan is generally controlled by changing the supplied voltage. A four-pin fan includes a separate pulse-width modulation control signal that can adjust speed while maintaining a consistent power supply.
| Fan Type | Primary Control Method | Common Characteristic |
|---|---|---|
| Three-pin fan | Voltage control | Speed changes as supplied voltage changes |
| Four-pin fan | Pulse-width modulation | Uses a dedicated control signal |
| Two-pin fan | Direct power | May run at one speed without reporting RPM |
| Proprietary fan | Manufacturer-specific | May use a nonstandard connector or control system |
A motherboard fan header must be configured for the correct control mode. A mismatch can cause a fan to run at full speed, respond poorly, or stop at an unintended voltage.
The CPU Fan Header Has a Special Monitoring Role
The processor cooler is normally connected to a motherboard header labeled CPU_FAN. This header often receives special attention during startup because the motherboard expects to detect a working processor fan.
If no speed signal is detected, the computer may display a CPU fan error, pause during startup, sound an alarm, or shut down depending on the firmware configuration.
- Confirm that the processor cooler fan is connected to the CPU_FAN header.
- Check that the connector is seated in the correct orientation.
- Verify that the fan blades rotate freely.
- Observe whether fan speed appears in the BIOS or UEFI monitor.
- Review the warning threshold if a low-speed fan is being used intentionally.
Connecting the processor fan to a chassis header may allow the fan to spin while still producing a startup warning because the expected CPU_FAN signal is missing.
A Fan Can Spin Without Providing a Valid Speed Reading
The motherboard usually receives a tachometer signal that reports fan speed in revolutions per minute. A fan can continue rotating even when this reporting signal is damaged or unavailable.
In that situation, monitoring software may show zero RPM, an unstable number, or no fan reading at all. The problem may involve the fan, connector, header, adapter, or monitoring software rather than the fan motor itself.
- A damaged tachometer wire can remove the RPM reading.
- A splitter may report only one connected fan.
- A fan hub may provide speed information from a designated port.
- Some proprietary fans do not report speed through a standard header.
- Monitoring software may label the sensor incorrectly.
Visual confirmation that a fan is spinning should be combined with a stable speed reading and appropriate temperature behavior.
Temperature Limits Differ Between Processor Models
There is no single temperature that defines overheating for every processor. Different processor families, laptop designs, power limits, cooling systems, and manufacturer settings operate within different thermal ranges.
A temperature that is normal for a compact laptop under heavy load may be unnecessarily high for a large desktop with an oversized cooler. The processor’s published thermal limits and the computer’s design should be considered together.
| Operating Condition | What Should Be Evaluated |
|---|---|
| Idle desktop | Room temperature, background activity, and fan profile |
| Light office work | Normal responsiveness and moderate fan behavior |
| Gaming | Sustained CPU and graphics heat inside the case |
| Stress testing | Maximum cooling capacity under an artificial workload |
| Compact laptop use | Limited airflow and manufacturer power limits |
The trend, workload, clock speed, fan response, and thermal limit are more useful than one isolated number.
Thermal Throttling Reduces Heat by Lowering Performance
When a processor approaches its thermal limit, it can reduce clock speed, voltage, or power consumption. This protective behavior is called thermal throttling.
The computer may remain operational, but demanding software can become slower because the processor is no longer maintaining its expected performance level.
- Clock speeds may drop during sustained workloads.
- Benchmark results may decrease after the system warms.
- Games may develop inconsistent frame rates.
- Rendering and compression tasks may take longer than expected.
- Fan noise may remain high while performance continues falling.
Thermal throttling is a protection mechanism, but frequent throttling during ordinary workloads may indicate inadequate cooling, restricted airflow, poor cooler contact, or overly aggressive power settings.
Emergency Shutdown Protects the Processor From Severe Heat
If temperature continues rising beyond the processor’s safe operating range, the system can shut down abruptly. This protection is intended to prevent permanent damage when ordinary fan control and throttling are not enough.
An emergency thermal shutdown may resemble a power-supply failure because the computer turns off without a normal Windows shutdown screen.
- Allow the computer to cool before restarting it.
- Confirm that the processor fan or pump is operating.
- Inspect the cooler mounting and power connections.
- Check for blocked vents and dust accumulation.
- Review temperature readings under a controlled workload.
Repeatedly restarting a computer that is shutting down from heat does not correct the cooling problem and may place continued stress on the system.
Monitoring Software Can Label Sensors Incorrectly
Hardware-monitoring utilities depend on motherboard sensor data and software interpretation. A program may display a sensor with a generic name, apply the wrong calculation, or show a reading that does not correspond to a physical temperature source.
- An impossible negative reading may indicate an unused sensor input.
- A fixed value that never changes may be interpreted incorrectly.
- Two programs may use different names for the same sensor.
- A motherboard utility may provide more accurate labels for that model.
- Firmware updates can change how sensor information is reported.
An unusual value should be compared across the BIOS or UEFI, the motherboard manufacturer’s utility, and a reputable monitoring program before hardware is replaced.
Cooler Contact Determines How Efficiently Heat Leaves the Processor
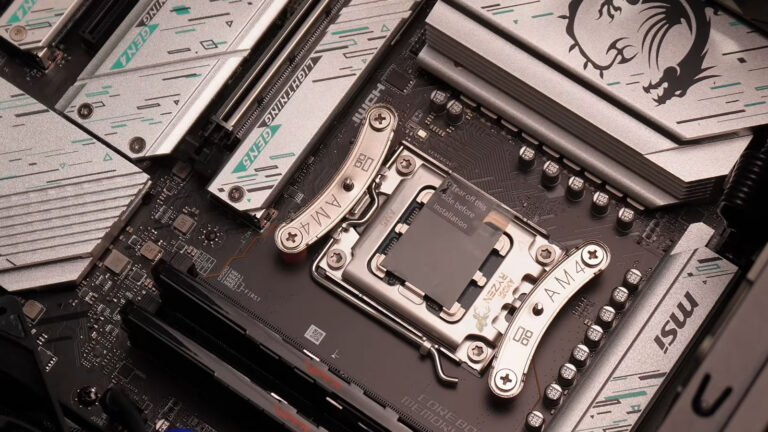
The processor can report high temperatures even when the fan is spinning correctly if the cooler is not making proper contact with the CPU surface. The heatsink must sit flat, use the correct mounting pressure, and transfer heat through an appropriate thermal interface material.
A cooler that is slightly loose may still appear installed while allowing temperatures to rise rapidly under load. Uneven mounting pressure can also cause one side of the processor package to transfer heat less effectively than the other.
- Loose mounting screws can reduce contact pressure.
- An incorrectly positioned retention bracket can prevent the cooler from sitting flat.
- Protective plastic left on a new cooler base can block heat transfer.
- Excessive or insufficient thermal compound can interfere with proper contact.
- A cooler designed for a different socket may not apply the correct mounting pressure.
When temperatures rise unusually fast immediately after startup or during a light workload, cooler installation should be checked before fan settings are changed.
Thermal Compound Fills Microscopic Surface Gaps
The metal surfaces of a processor and heatsink appear smooth, but microscopic imperfections can trap small pockets of air. Thermal compound fills these gaps so heat can move more efficiently from the processor into the cooler.
The compound is not intended to form a thick insulating layer. Its purpose is to improve contact between two surfaces that should already be mounted closely together.
| Thermal Compound Condition | Possible Result |
|---|---|
| Properly applied | Supports efficient heat transfer across the contact surface |
| Too little compound | May leave unfilled gaps between the processor and cooler |
| Too much compound | Can create an unnecessarily thick layer and spread beyond the contact area |
| Dried or disturbed compound | May no longer fill the surface evenly after cooler removal |
| Incorrect material | May provide poor thermal performance or create contamination risks |
If a cooler is removed, the old compound should normally be cleaned from both surfaces and replaced before reassembly.
Case Airflow Affects the Temperature of Every Internal Component
The processor cooler can only work with the air available inside the computer. If warm air remains trapped in the case, the heatsink and fan continue circulating increasingly hot air instead of receiving cooler air from outside.
Effective airflow usually brings cooler air into the front or lower portion of the case and removes heated air through the rear or top. The exact arrangement varies with the case design, component placement, and cooling equipment.
- Identify which fans are bringing air into the case.
- Confirm which fans are exhausting warm air.
- Check that cables are not blocking major airflow paths.
- Inspect vents, filters, and fan openings for dust.
- Compare temperatures with the side panel installed and removed.
A large temperature improvement with the side panel removed can indicate restricted case airflow, although the test should be interpreted carefully because open-case airflow differs from normal operation.
Fan Direction Must Match the Intended Airflow Path
A fan installed backward can disrupt the case airflow pattern. Instead of exhausting warm air, it may pull air inward, or an intake fan may push heated air back toward the front of the computer.
Most case fans include small arrows on the frame indicating blade rotation and airflow direction. When those markings are unavailable, the side containing the support struts commonly represents the exhaust side.
| Fan Position | Common Airflow Role |
|---|---|
| Front of case | Intake of cooler external air |
| Bottom of case | Intake when adequate clearance and filtration are available |
| Rear of case | Exhaust of warm air near the processor area |
| Top of case | Exhaust of rising heated air |
| Side panel | Varies according to case and graphics-card design |
The best arrangement is not determined only by the number of fans. Direction, placement, restrictions, and internal heat sources all affect the result.
Dust Raises Temperature by Restricting Air and Insulating Surfaces
Dust accumulation can reduce cooling in several ways. It can block case filters, collect between heatsink fins, coat fan blades, and restrict narrow laptop vents. A fan may continue spinning at high speed while moving very little useful air through a clogged cooling path.
- Blocked intake filters reduce the volume of cool air entering the case.
- Dust between heatsink fins prevents air from carrying heat away.
- Dirty fan blades can reduce airflow and create imbalance.
- Pet hair can form dense mats across vents and radiators.
- Dust inside compact computers can affect several components at once.
Cleaning should be performed carefully so fans are not overspun, connectors are not damaged, and debris is not pushed deeper into the computer.
Liquid Coolers Depend on Pump Operation as Well as Fan Speed
A liquid CPU cooler uses a pump to move coolant between the processor block and the radiator. The radiator fans may spin normally while the processor overheats if the pump is disconnected, failing, obstructed, or running at an unsuitable speed.
This makes liquid-cooling diagnosis different from ordinary air-cooler diagnosis. Fan movement alone does not confirm that heat is being transported away from the processor.
| Liquid-Cooling Check | Reason |
|---|---|
| Pump power connection | Confirms that the pump is receiving power |
| Pump speed reading | Shows whether an RPM signal is being reported |
| Radiator fan operation | Confirms air is moving through the radiator |
| Tube temperature difference | May provide clues about coolant circulation |
| Radiator placement | Affects airflow and the location of trapped air |
A failed pump can cause the processor temperature to rise very quickly, even when the radiator fans are running at full speed.
Pump Headers and Fan Headers May Use Different Settings
Some motherboards provide dedicated headers labeled AIO_PUMP, PUMP, or W_PUMP. These headers may be configured to supply constant power because many cooler pumps are intended to run continuously at a stable speed.
If a pump is connected to a header using an aggressive fan curve, its speed may fall too low during idle operation. Conversely, connecting an ordinary fan to a full-speed pump header may cause unnecessary noise.
- Identify the exact header used by the pump.
- Confirm whether the pump requires voltage or PWM control.
- Review the cooler manufacturer’s connection instructions.
- Check the reported pump speed in firmware.
- Verify processor temperature after the configuration is corrected.
Header labels are helpful, but the motherboard manual and cooler instructions provide the most reliable connection information.
Fan Splitters and Hubs Change How Speed Is Reported
A splitter allows several fans to receive control from one motherboard header. Because multiple tachometer signals cannot normally be combined on the same input, only one fan may report its speed to the motherboard.
The remaining fans can still receive power and control while displaying no separate RPM reading. Powered hubs may work similarly, with one designated port providing the speed signal.
- All connected fans may follow the same control curve.
- Only one fan may appear in monitoring software.
- Different fan models may not respond identically to the same signal.
- The total electrical load must remain within the header or hub rating.
- A disconnected reporting fan can cause the displayed RPM to fall to zero.
A missing individual reading is not automatically a failure when several fans share one control connection.
Motherboard Headers Have Electrical Limits
Each fan header is designed to supply a limited amount of electrical current. Connecting too many fans directly through an unpowered splitter can exceed that limit and damage the header or cause unstable operation.
The current requirement printed on each fan should be compared with the motherboard header rating. Startup current may also be higher than the amount used after the fan reaches normal speed.
A splitter divides one control source, but it does not increase the electrical capacity of the motherboard header.
When several high-power fans are required, a powered hub that draws energy from the power supply may be safer than placing the entire load on one motherboard connection.
Minimum Fan Speed Settings Can Cause Unexpected Stopping
Every fan has a minimum voltage or control level required to begin and continue rotating. If the fan curve drops below that point, the fan may stop, pulse, click, or repeatedly attempt to restart.
A fan that starts reliably at a higher setting may not restart when the computer lowers it too far during idle operation. Calibration tools in some BIOS or motherboard utilities can test the usable speed range automatically.
| Observed Behavior | Possible Explanation |
|---|---|
| Fan stops at idle | Zero-RPM mode may be enabled intentionally |
| Fan twitches repeatedly | Control level may be below the starting threshold |
| Fan runs only at full speed | Incorrect control mode or missing control signal |
| Fan speed rises and falls constantly | Curve may react too closely to short temperature changes |
| Fan does not restart after stopping | Minimum restart setting may be too low |
A stable fan curve should remain within the operating range of the specific fan rather than relying only on generic percentages.
Short Temperature Spikes Can Make Fans Constantly Change Speed
Modern processors can create very brief temperature increases during ordinary background activity. If the fan curve reacts instantly to every small change, the computer may repeatedly become louder and quieter even though average temperature remains normal.
Many motherboards provide response-delay, hysteresis, or smoothing settings. These options prevent the fan from changing speed until the temperature remains above or below a threshold for a short period.
- A slower response can reduce unnecessary fan surging.
- A faster response may be useful for compact systems with limited thermal capacity.
- Different fans may require different response behavior.
- Processor and case fans do not always need identical curves.
- Settings should still provide rapid cooling during sustained high temperature.
The goal is not to ignore real heat, but to prevent harmless momentary changes from producing constant noise.
Room Temperature Changes the Starting Point for Cooling
A computer cannot cool its components below the temperature of the surrounding air through ordinary air cooling. As room temperature rises, idle and load temperatures generally rise as well.
A system that performs well in an air-conditioned room may operate noticeably warmer in a closed office, near a window, inside a cabinet, or during a hot season.
- Measure temperatures under similar room conditions when comparing results.
- Keep intake vents away from walls and enclosed furniture.
- Avoid placing the computer beside heaters or direct sunlight.
- Provide clearance around exhaust openings.
- Consider room temperature when evaluating a small change in CPU readings.
Cooling performance should be evaluated in the environment where the computer is normally used, not only on an open service bench.
Laptop Fan Control Is Often Managed by Manufacturer Firmware
Laptop cooling systems are usually controlled more tightly by the manufacturer than desktop cooling systems. The firmware may coordinate processor temperature, graphics temperature, battery condition, power mode, and chassis limits before deciding how quickly the fan should run.
This means a laptop may not respond predictably to third-party fan-control software. Some models do not expose direct manual controls, while others allow only limited profiles such as quiet, balanced, and performance.
- Fan behavior may change when the charger is connected.
- Performance mode may raise power limits and fan speed together.
- Battery mode may reduce processor performance before increasing fan noise.
- Manufacturer utilities may override generic Windows settings.
- Firmware updates can alter temperature and fan behavior.
A laptop that runs hot should be evaluated according to its original design rather than compared directly with a large desktop computer.
Graphics Heat Can Raise CPU Temperature Inside the Same Case
The processor is not the only source of heat inside a computer. A graphics card can release a substantial amount of warm air into the case during gaming, rendering, or other graphics-intensive work. This can raise the temperature of the air entering the processor cooler.
| Heat Source | Possible Effect on CPU Cooling |
|---|---|
| High-power graphics card | Raises internal case temperature during gaming |
| Rear-exhaust graphics cooler | Removes more heat directly from the case |
| Open-air graphics cooler | Releases more warm air inside the chassis |
| Poor case ventilation | Allows graphics and processor heat to accumulate |
| Compact case design | Places major heat sources close together |
CPU temperature should therefore be checked during the workloads that reflect how the computer is actually used, not only during a processor-only test.
Power Settings Can Change Temperature Without Any Hardware Failure
Processor power settings influence clock speed, voltage, and how aggressively the system responds to workload. A high-performance configuration may keep the processor at elevated speeds for longer periods, producing more heat than a balanced power plan.
- Review the active Windows power plan.
- Check whether a manufacturer performance utility is also active.
- Compare temperatures in balanced and performance modes.
- Confirm whether processor boost behavior changes between profiles.
- Evaluate whether the additional performance justifies the extra heat and noise.
A sudden temperature increase after changing software settings does not always indicate that the cooler or fan has failed.
Overclocking and Raised Power Limits Increase Cooling Requirements
Overclocking, automatic performance enhancement, and raised processor power limits can increase heat significantly. Some motherboards enable aggressive performance settings automatically, even when the user has not performed a traditional manual overclock.
The processor may remain within its official thermal protection limits while operating much hotter and drawing more power than expected under default conditions.
- Higher voltage increases heat production.
- Longer boost duration raises sustained temperature.
- Unlimited power settings can overwhelm a cooler designed for standard operation.
- Automatic motherboard tuning may change settings without clear notice.
- Returning to verified defaults can help separate cooling problems from configuration problems.
A cooler that is adequate at standard settings may become inadequate when power limits are raised.
BIOS Resets Can Change Fan Behavior
Resetting the BIOS or UEFI can return fan-control settings to their defaults. A computer that previously used a custom curve may become louder, warmer, or less responsive after a firmware reset, battery replacement, failed update, or manual configuration change.
| Setting That May Change | Possible Result |
|---|---|
| Fan control mode | A PWM fan may be treated as a voltage-controlled fan or the reverse |
| Fan curve | Custom temperature points may return to standard values |
| Zero-RPM option | Fans may stop or continue running at idle |
| Warning threshold | A low-speed fan may trigger a startup alert |
| Pump configuration | A liquid-cooling pump may run at an unsuitable speed |
When fan behavior changes immediately after firmware work, the stored configuration should be reviewed before components are replaced.
A Failing Fan Bearing Can Reduce Cooling Before the Fan Stops
A fan does not need to stop completely to become unreliable. Worn bearings can cause reduced speed, vibration, clicking, grinding, or difficulty starting when the computer is cold.
The fan may appear normal during a brief inspection but slow down after warming, stall at low settings, or produce inconsistent RPM readings.
- Listen for clicking, scraping, or uneven mechanical noise.
- Observe whether the fan starts immediately when power is applied.
- Compare reported RPM with the expected speed range.
- Check for visible wobble or vibration.
- Replace the fan if operation remains unstable after cleaning and reconnection.
A deteriorating fan should be addressed before it causes repeated thermal throttling or shutdowns.
Fan Noise Alone Does Not Prove That the Computer Is Overheating
A loud fan may indicate high temperature, but it can also result from an aggressive fan curve, incorrect header mode, damaged bearing, firmware reset, or software that holds the processor under constant load.
| Fan Condition | Possible Interpretation |
|---|---|
| Loud fan with high temperature | The cooling system may be struggling with a real thermal load |
| Loud fan with normal temperature | The fan curve or control mode may be too aggressive |
| Quiet fan with high temperature | The fan may not be responding correctly or airflow may be restricted |
| Fan repeatedly speeds up and slows down | Short temperature spikes may be triggering the curve |
| Mechanical grinding noise | The fan bearing may be failing |
Temperature, workload, fan speed, airflow, and noise should be evaluated together.
Background Software Can Keep the Processor Warmer Than Expected
A computer that appears idle may still be performing updates, indexing files, synchronizing cloud data, scanning for malware, or running unnecessary startup programs. These tasks can increase processor activity and prevent temperature from settling.
- Open Task Manager and review processor usage.
- Identify processes using significant CPU resources.
- Allow legitimate updates or scans to finish.
- Disable unnecessary startup software when appropriate.
- Recheck idle temperature after activity returns to a stable level.
Cooling diagnosis should begin only after confirming that the system is truly under a light workload.
Stress Testing Should Be Controlled and Monitored
Stress-testing software can place the processor under a sustained artificial workload to evaluate cooling capacity. These tests can be useful, but they may produce more heat than typical daily use and should not be left unattended on a system with suspected cooling problems.
- Record the starting temperature before the test.
- Monitor temperature, clock speed, and fan response continuously.
- Stop the test if temperature rises uncontrollably.
- Check whether thermal throttling begins.
- Allow the system to cool and confirm that temperatures decline afterward.
A stress test should confirm a repair or configuration change, not replace physical inspection of the cooling system.
Comparing Before-and-After Results Provides Better Evidence
One temperature reading has limited value without a reference point. More useful conclusions come from comparing the computer under the same workload before and after cleaning, cooler reseating, fan replacement, firmware adjustment, or airflow improvement.
| Measurement | Reason to Record It |
|---|---|
| Room temperature | Provides context for changes in cooling conditions |
| Idle CPU temperature | Shows behavior under minimal workload |
| Load CPU temperature | Measures cooling performance during sustained activity |
| Maximum fan speed | Shows whether the fan is responding as expected |
| Processor clock speed | Reveals possible thermal throttling |
Testing under consistent conditions makes it easier to determine whether the change actually improved cooling.
Temperature Problems Should Be Diagnosed as a Complete System
CPU temperature depends on more than the processor itself. Cooler contact, thermal compound, fan operation, pump speed, case airflow, graphics heat, room conditions, firmware settings, power limits, and background software can all influence the readings.
Replacing the processor is rarely the first response to an overheating complaint. The more effective approach is to confirm the workload, compare several reliable sensor sources, inspect the cooling hardware, verify fan and pump control, and test the computer under consistent conditions.
When temperature information and fan behavior are interpreted together, it becomes possible to distinguish normal thermal changes from restricted airflow, incorrect configuration, failing cooling hardware, and genuine overheating.