The Small Material Between a Processor and Heatsink That Supports Effective Heat Transfer
A processor can appear perfectly smooth, and the bottom of its heatsink may look equally flat. Under magnification, however, both surfaces contain tiny scratches, valleys, and irregularities. If the two parts were pressed together without anything between them, small pockets of air would remain trapped across the contact area.
Air does not transfer heat as effectively as the materials used in a processor heat spreader or cooling assembly. Thermal paste fills those microscopic spaces so heat can move more consistently from the processor into the heatsink, where it is carried away by airflow.
The compound does not cool the processor by itself. It supports the cooling system by improving contact between two surfaces that can never meet perfectly across every microscopic point. Its value depends on correct application, proper heatsink pressure, and a cooling assembly capable of removing the heat afterward.
The Processor Produces Heat During Normal Operation
Every calculation performed by a processor involves electrical activity. Some of that energy becomes heat, and the amount increases as the processor performs more demanding work. Video editing, gaming, software installation, file compression, and other sustained tasks can raise temperature more than light web browsing or document work.
The processor is designed to operate within a controlled temperature range. Its heatsink absorbs heat from the top of the chip, and a fan or liquid-cooling system moves that heat away from the immediate area.
If heat cannot cross efficiently into the cooler, the fan may spin faster without producing the expected improvement. The cooling system can move only the heat that successfully reaches it.
Metal Surfaces Are Not Perfectly Flat
The top of a desktop processor is usually covered by a metal heat spreader, while the cooler rests against it through a copper, aluminum, or plated base. These surfaces are manufactured with close tolerances, but they still contain irregularities too small to see during ordinary inspection.
Without thermal compound, contact would occur mainly at the highest points. Air would remain inside the low areas, creating small barriers to heat transfer across the rest of the surface.
Thermal paste flows into those shallow spaces while allowing the two metal parts to remain close together. The objective is not to create a thick insulating layer. It is to replace trapped air with a material better suited to carrying heat.
More Thermal Paste Does Not Automatically Improve Cooling
A common misconception is that a larger amount of compound must transfer more heat. In practice, excessive paste can create a layer thicker than necessary and spread beyond the processor surface when the cooler is tightened.
The correct quantity depends on the processor size, compound consistency, cooler design, and application method. The paste should cover the intended contact area after mounting without forming an unnecessarily deep layer.
- Too little compound may leave air gaps across part of the surface.
- Too much can spread beyond the contact area.
- An uneven application may leave one section poorly covered.
- Repeatedly lifting the cooler can introduce new air pockets.
- Mounting pressure ultimately determines how the compound spreads.
The goal is complete, thin coverage after installation rather than the largest visible amount before the heatsink is attached.
Heatsink Pressure Matters as Much as the Compound
Thermal paste cannot compensate for a heatsink that is loose, tilted, or mounted with uneven pressure. The cooler must sit firmly against the processor so the compound spreads into a thin layer and both surfaces remain in close contact.
Desktop coolers may use spring screws, plastic push pins, retention clips, or a mounting bracket behind the motherboard. Laptop cooling assemblies often use numbered screws that are tightened gradually in a specified sequence.
If one fastener is not secured, part of the cooler can lift away from the processor. Temperatures may rise immediately even though new thermal paste was applied correctly.
| Cooling Condition | Possible Result |
|---|---|
| Thin compound layer with even cooler pressure | Heat can transfer consistently across the contact area. |
| Too little compound | Microscopic gaps may remain unfilled. |
| Excessively thick compound | Heat must pass through more material than necessary. |
| Loose or tilted heatsink | Part of the processor may have poor physical contact. |
| Cooler removed and reinstalled without renewing the paste | Air pockets and uneven coverage may remain. |
Good thermal contact depends on the compound and the mechanical installation working together.
Pre-Applied Compound Is Common on New Coolers
Many replacement heatsinks and factory cooling assemblies arrive with thermal material already applied to the base. This may appear as a smooth gray patch, several printed strips, or a preformed thermal layer protected by a removable cover.
Additional paste is generally unnecessary when the factory material is intact and the cooler has not been installed previously. Combining new paste with a prepared layer can create excessive thickness and uneven spreading.
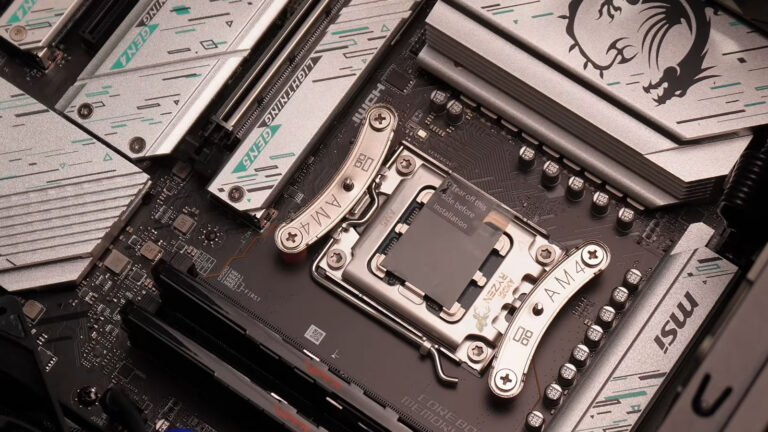
The protective film must be removed before installation. Leaving plastic over the contact surface prevents proper heat transfer and can cause temperatures to rise quickly after startup.
The Cooler Should Not Be Lifted Repeatedly During Installation
Once the heatsink presses into the thermal compound, lifting it can pull the paste into peaks and introduce air between the surfaces. Placing it back down without cleaning and reapplying the material may leave uneven coverage.
This often happens when a cooler is positioned incorrectly, one mounting screw is difficult to reach, or the installer lifts the assembly to inspect how the paste spread. The visual inspection may seem helpful, but it changes the very contact pattern being evaluated.
If the cooler must be removed after making contact, cleaning both surfaces and applying fresh compound provides a more predictable result than pressing the disturbed layer together again.
Old Compound Can Become Dry and Difficult to Remove
Thermal paste changes after years of heat cycles. Some compounds remain soft for a long time, while others become dry, brittle, or firmly bonded to the processor and heatsink.
Aged paste does not always cause immediate overheating. Cooling performance may decline gradually as the material pumps away from parts of the contact area, cracks, or loses its original consistency.
Desktop processors and high-temperature laptop systems can experience thousands of heating and cooling cycles over their service life. Expansion and contraction during those cycles may slowly alter the compound layer even when the heatsink remains securely mounted.
Thermal Paste Is Not a Scheduled Annual Replacement Item
Replacing thermal compound every few months is usually unnecessary on a stable computer with normal temperatures. Opening a working cooling assembly introduces its own risks, including damaged mounting hardware, disconnected fans, uneven pressure, and accidental contact with nearby components.
Renewal becomes more reasonable when the cooler has already been removed, temperatures have changed without another explanation, the original compound is visibly dry, or the computer is undergoing service that requires access to the processor.
Temperature history and cooling behavior provide better guidance than replacing the paste according to an arbitrary calendar.
Laptop Cooling Assemblies Often Serve More Than One Chip
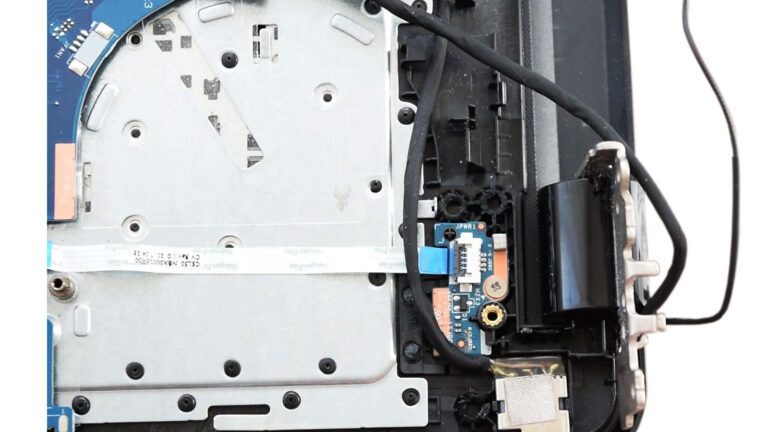
Laptop cooling systems frequently use one metal assembly to carry heat away from the processor, graphics chip, and nearby power components. Copper heat pipes connect those areas to a shared heatsink and fan.
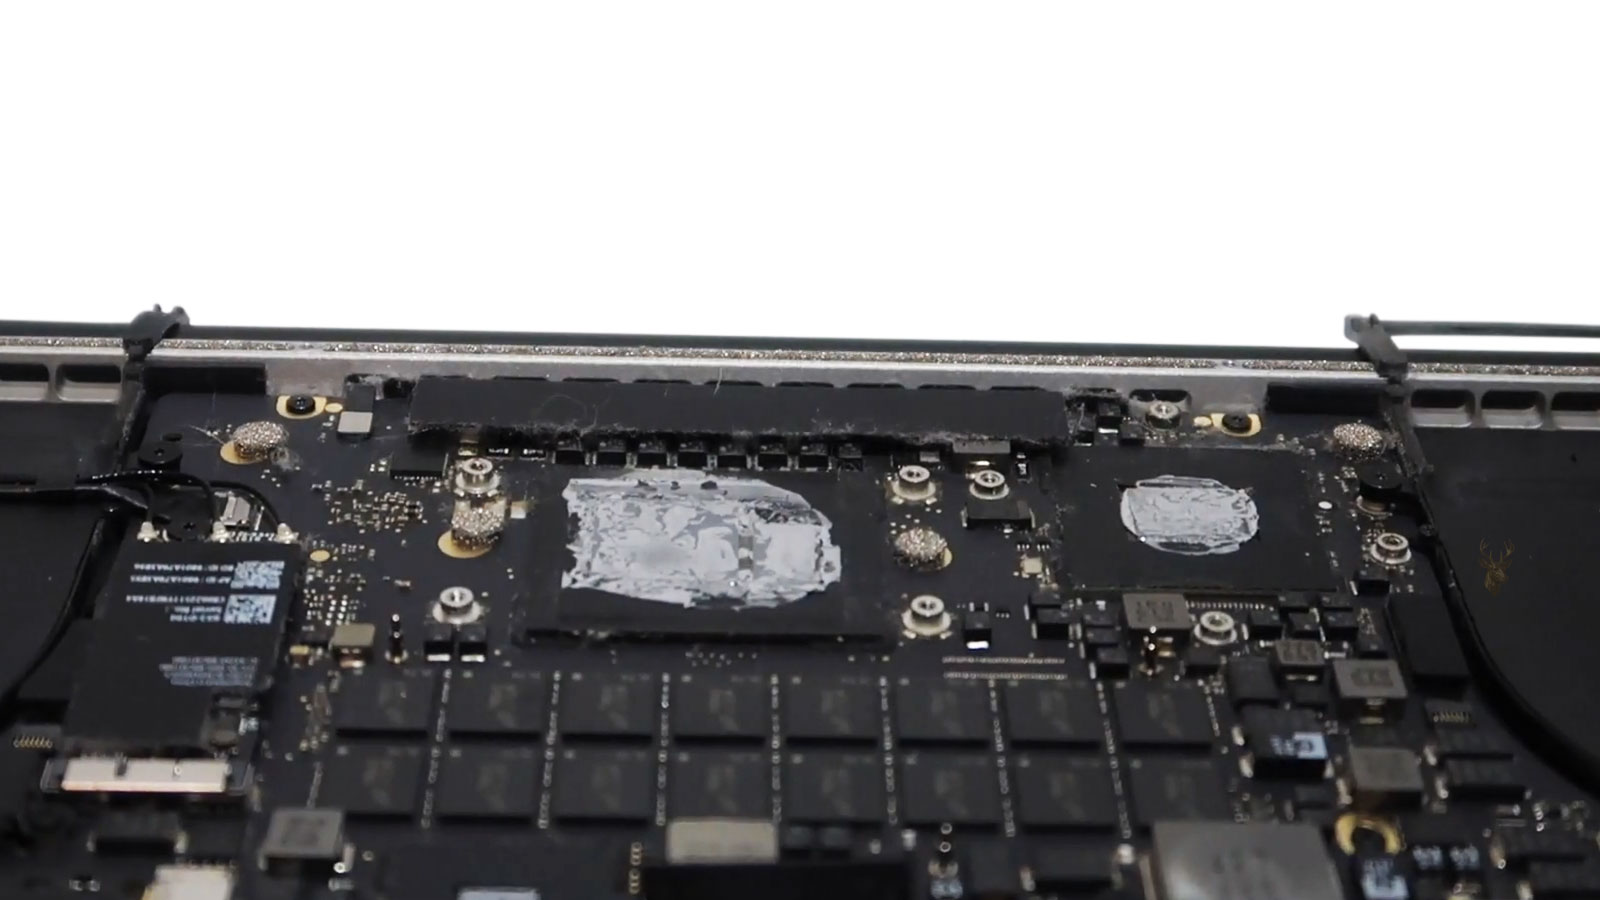
Removing the assembly may disturb thermal paste on one chip and thermal pads on several others. Those materials are not always interchangeable. Pads compensate for larger physical gaps, while paste is intended for closely fitted surfaces.
Replacing every thermal material with ordinary paste can leave some components without proper contact. The original pad thickness and placement should be preserved unless suitable replacements have been identified.
Thermal Pads and Thermal Paste Serve Different Purposes
Thermal pads are soft sheets or shaped pieces used where a noticeable space exists between a component and the cooling assembly. They are common around memory chips, voltage regulators, graphics components, and other areas that do not sit as close to the heatsink as the processor does.
Ordinary thermal paste is not designed to bridge a large gap. If paste is substituted for a pad that was several millimeters thick, the cooling plate may never touch the component closely enough to remove heat. The paste can spread outward while leaving the original gap largely unchanged.
Pad thickness also matters. A replacement that is too thin may not make contact, while one that is too thick can lift the cooling assembly away from another chip. Preserving the original arrangement is especially important on compact laptop cooling systems where one plate serves several components at once.
Cleaning the Old Compound Requires a Controlled Method
Before fresh compound is applied, the old material should be removed from both contact surfaces. Leaving hardened pieces behind can prevent the cooler from sitting flat and may create thicker areas beneath one side of the heatsink.
A lint-free material and an appropriate electronics-safe cleaning solution are generally preferred because they reduce residue and loose fibers. The surface should be cleaned gently rather than scraped aggressively with a hard metal tool.
- Remove the loose material before applying cleaning solution.
- Keep liquid away from sockets, connectors, and exposed circuitry.
- Avoid leaving cloth fibers across the processor surface.
- Allow both contact areas to dry completely.
- Inspect the heatsink base for remaining hardened compound.
The objective is a clean contact surface, not a polished appearance achieved through unnecessary abrasion.
Cleaning Fluid Should Not Be Poured Directly Onto the Motherboard
Applying liquid directly above the processor socket increases the chance that it will travel beneath the chip, into a connector, or across nearby components. Even a suitable cleaner can create problems if excessive amounts remain trapped where they cannot evaporate easily.
Using a lightly dampened lint-free wipe provides more control than pouring or spraying. The processor and heatsink can then be cleaned in small passes until the old compound has been removed.
Strong household cleaners, oily products, and materials that leave fragrance or conditioning residue are not appropriate for thermal-contact surfaces. Any film left behind becomes another layer between the processor and cooler.
Application Patterns Produce Similar Results When the Amount Is Correct
Thermal compound is applied in several common patterns, including a central dot, a short line, a small cross, or a thin spread. Each method can work when it matches the size and shape of the processor and when the cooler applies even pressure.
The mounting process ultimately spreads the compound across the contact area. A pattern that works well on a small square desktop processor may not provide the same coverage on a larger rectangular heat spreader.
Following the guidance supplied with the processor, cooler, or compound usually provides a more dependable result than selecting an application style based only on appearance.
Spreading Compound Manually Can Introduce New Problems
Manually spreading thermal paste can provide visible coverage before the heatsink is installed, but the method requires care. An uneven tool can leave ridges, trap air, or create thin uncovered areas near the edge.
Contamination is another concern. A finger, ordinary card, or reused tool can introduce skin oil, dust, fibers, or residue into the compound. Any spreading tool should be clean and suitable for the material being used.
For many processors, allowing the mounting pressure to spread a correctly sized amount is simpler and reduces unnecessary contact with the paste.
Electrically Conductive Compounds Require Additional Caution
Thermal compounds differ in composition. Many common products are designed to be electrically nonconductive, while certain specialized materials can conduct electricity or create electrical risk if they spread onto nearby contacts.
This becomes especially important around exposed processor components, laptop chips without large heat spreaders, and tightly spaced motherboard circuitry. Excess material squeezed beyond the intended surface may reach areas where ordinary paste would cause little concern but conductive material could create a short.
The product instructions should be understood before application. High thermal performance does not make a compound suitable for every repair environment.
Liquid Metal Is Not Ordinary Thermal Paste
Liquid-metal thermal materials can transfer heat very effectively, but they behave differently from conventional paste. They are electrically conductive, can spread easily, and may react with certain metals used in heatsinks.
Aluminum surfaces are particularly unsuitable for many liquid-metal products because a damaging chemical reaction can occur. Even on compatible copper or nickel-plated surfaces, careful containment and preparation are required.
For routine maintenance and general computer repair, conventional thermal compound is usually more forgiving. Liquid metal belongs in situations where its risks, material compatibility, and containment requirements are fully understood.
Processor Temperature Should Be Judged Under Comparable Conditions
A temperature reading has little meaning without context. Room temperature, processor workload, fan speed, power settings, case airflow, and the monitoring program itself all influence the number being reported.
Comparing an idle reading taken in a cool room with a gaming temperature recorded during a warm afternoon does not provide a fair measure of whether new thermal paste improved the system.
- Use the same monitoring method before and after service.
- Allow the computer to reach a similar idle state.
- Repeat the same workload for a comparable length of time.
- Observe fan behavior as well as temperature.
- Note the room conditions during both tests.
Consistent testing makes small changes easier to interpret and prevents ordinary environmental differences from being mistaken for a repair result.
A High Temperature Reading Does Not Automatically Blame the Paste
Thermal compound is only one part of the cooling system. A clogged heatsink, failed fan, restricted air intake, incorrect fan control, loose bracket, damaged heat pipe, or poor case ventilation can produce high temperatures even when the paste is applied properly.
Processor power consumption also matters. A system using aggressive performance settings may generate more heat than the original cooler can remove comfortably. Replacing the compound may produce little improvement if the cooling assembly is already undersized for the workload.
Troubleshooting should therefore include airflow, fan operation, mounting pressure, cooler condition, and workload rather than treating thermal paste as the universal explanation for overheating.
Heat Pipes Can Lose Effectiveness Even With Good Contact
Many laptop coolers and some desktop designs use sealed heat pipes to move heat from the processor toward a fin stack. The pipe contains a working fluid that changes state and circulates internally as temperatures rise and fall.
If a heat pipe is physically damaged or loses its internal integrity, the processor end may become hot while the fin area remains unexpectedly cool. Fresh thermal paste cannot restore heat movement through a failed pipe.
This condition is less common than dust buildup or poor mounting, but it becomes relevant when contact appears correct and the cooling assembly still fails to carry heat toward the fan.
Fan Speed and Airflow Must Be Considered Together
A fan can spin rapidly while moving very little air through the heatsink. Dust packed between the fan and fin stack may block the passage, causing the system to sound loud without cooling effectively.
The opposite can also occur. A clean heatsink may receive inadequate airflow because the fan motor is weak, the blades are damaged, or the control system is not increasing speed as temperature rises.
Thermal paste improves the first stage of heat transfer from the chip into the cooling assembly. The remaining stages still depend on the heat pipe or metal base, the fin stack, and sufficient airflow leaving the computer.
Uneven Screw Tightening Can Distort the Contact Surface
Cooling assemblies secured by several screws should normally be tightened gradually rather than one screw being fully tightened before the others. Pulling one corner down first can tilt the heatsink and move thermal compound away from part of the contact area.
Numbered screw markings on laptop coolers indicate the intended tightening or loosening sequence. Following that order helps distribute pressure more evenly across the processor and any neighboring chips.
Fasteners should be secure without being forced beyond their designed limit. Overtightening can damage threads, crack mounting points, distort the board, or make future service more difficult.
A Cooler Can Look Secure While One Mounting Point Has Failed
Some desktop heatsinks use plastic push pins or clips that can break, loosen, or fail to lock completely. The cooler may appear to be attached from above while one corner remains slightly raised from the processor.
This uneven contact can create immediate temperature problems. The fan may accelerate soon after startup, performance may drop under load, or the computer may shut down even though fresh thermal compound was installed.
Each mounting point should be checked individually rather than assuming that a cooler is secure because it does not move easily by hand.
Removing the Cooler Can Pull the Processor From Its Socket
Old thermal compound can sometimes bond the processor and heatsink together firmly enough that lifting the cooler also pulls the processor from its socket. This is more likely on certain socket designs where the processor is not held beneath a rigid retention frame.
Twisting the cooler gently after the system has been warmed and powered down may help break the seal before lifting. Excessive force should be avoided because bent processor pins, damaged socket contacts, and broken retention hardware can turn routine maintenance into a much larger repair.
If the processor comes out attached to the heatsink, it should not be pried loose carelessly with metal tools near the pins or contact surface.
Thermal Compound Should Remain Within the Intended Contact Area
Paste that spreads slightly beyond the edge of a desktop processor is not always harmful, especially when the compound is electrically nonconductive. Even so, excessive overflow makes future service more difficult and can contaminate nearby components.
On exposed laptop chips, graphics processors, and densely populated circuit boards, overflow deserves more attention because small resistors and capacitors may sit close to the contact surface. The compound should be applied with enough control to cover the chip without flooding the surrounding area.
- Confirm whether the compound is electrically conductive.
- Remove excessive material before powering the system.
- Keep paste away from sockets and connector contacts.
- Avoid spreading compound across nearby components.
- Use a smaller amount when servicing exposed chips.
Careful application reduces cleanup and limits the number of surfaces affected during later repairs.
Pump-Out Can Reduce Coverage After Repeated Heat Cycles
Processors and cooling assemblies expand and contract slightly as they heat and cool. Over many cycles, some thermal compounds can move away from the center of the contact area or collect around the edges.
This effect is sometimes called pump-out. It is more likely in systems that experience frequent temperature swings, uneven mounting pressure, or compounds that are not well suited to the mechanical movement of the assembly.
The result may be a gradual increase in temperature even though the cooler has never been removed. Inspection often reveals thin or dry areas across part of the processor surface and thicker material around the perimeter.
Cooling Results Can Change After the Compound Settles
Some thermal compounds reach stable performance immediately, while others change slightly after several heating and cooling cycles. The difference is usually modest and should not be confused with a computer that overheats severely as soon as it is powered on.
A large temperature problem immediately after service points more strongly toward poor mounting, insufficient fan operation, blocked airflow, incorrect pad placement, or a disconnected cooling component.
Waiting for a compound to settle should never be used to justify operation at unsafe temperatures.
Monitoring Software Can Report Different Numbers
Temperature-monitoring programs do not always label sensors in the same way. One utility may show individual processor-core temperatures, another may emphasize the package sensor, and a third may apply an offset supplied by the motherboard.
Comparisons are most useful when the same software, sensor, and workload are used before and after service. Switching between programs can make ordinary reporting differences appear to be a cooling improvement or decline.
Firmware readings can also differ from Windows results because the processor is operating under a different workload and power state inside the setup screen.
Temperature Limits Vary Between Processor Models
There is no single temperature number that applies to every processor. Desktop and laptop chips are designed with different power limits, cooling expectations, and protective thresholds.
A temperature considered high for one processor may remain within the normal operating range of another. Manufacturer specifications, system design, workload, and whether the processor is throttling all provide necessary context.
Judging the repair only by comparing the number with a general internet rule can therefore lead to an incorrect conclusion.
Thermal Throttling Protects the Processor but Reduces Performance
Modern processors can lower their operating speed and voltage when temperature approaches a protective limit. This process, known as thermal throttling, reduces heat production and helps prevent immediate damage.
The computer may remain powered on while becoming noticeably slower during gaming, rendering, software compilation, or other demanding work. Fan noise may remain high because the cooling system is still trying to reduce temperature.
- Performance drops after several minutes of heavy use.
- Clock speed decreases while temperature remains elevated.
- The fan continues operating near maximum speed.
- Performance returns after the computer cools.
- The same workload completes more slowly than before.
Fresh thermal compound may help if poor contact is the cause, but throttling can also result from dust, weak airflow, failed heat pipes, or a cooler that is too small for the processor.
Automatic Shutdowns Indicate a More Serious Cooling Failure
If temperature continues rising despite throttling and maximum fan operation, the system may shut down to protect the processor and nearby hardware. A computer that turns off shortly after a cooler has been removed and reinstalled should not be subjected to repeated testing without checking the installation.
The fan connection, mounting hardware, protective film, thermal material, and heatsink contact should all be reviewed. Repeated thermal shutdowns can expose surrounding components to unnecessary heat even when the processor protects itself successfully.
A shutdown that occurs within seconds or minutes of startup usually indicates a substantial cooling problem rather than a small difference between thermal compounds.
Testing After Service Should Include Idle and Sustained Load
Confirming that the computer reaches the desktop is not enough to evaluate a cooling repair. A poor installation may appear acceptable during light use and fail only after the processor has been working continuously.
- Confirm that the fan starts and responds normally.
- Observe the idle temperature after the system settles.
- Run a controlled workload appropriate for the hardware.
- Watch temperature, fan speed, and processor performance together.
- Stop the test if temperature rises unexpectedly or cooling becomes unstable.
- Recheck the mounting if results differ sharply from the previous baseline.
A sustained comparison provides more useful evidence than a brief startup check because it shows whether heat continues moving through the complete cooling path.
A Poor Result Should Lead Back to the Installation Sequence
If temperatures become worse after thermal service, the work should be reviewed in the order it was performed. The cooler may have been lifted after contact, one screw may remain loose, a fan cable may be disconnected, or a thermal pad may have shifted out of position.
Adding more paste on top of the existing layer rarely provides a reliable correction. The cooler should be removed, both surfaces inspected and cleaned, and the complete installation repeated correctly.
This methodical approach is more effective than changing several unrelated fan or power settings in an attempt to compensate for poor physical contact.
Thermal Compound Is One Link in the Cooling System
Reliable processor cooling depends on several stages working together. Heat must leave the chip, cross the thermal interface, enter the heatsink or heat pipe, move through the cooling fins, and finally exit the computer through airflow.
Thermal paste supports only the contact between the chip and cooler. It cannot repair a worn fan, reopen a clogged vent, restore a damaged heat pipe, or correct a heatsink mounted at an angle.
Its importance comes from being small, hidden, and essential. Applied in the right amount beneath a correctly mounted cooler, it helps the rest of the cooling system perform as designed without becoming the only factor considered whenever temperatures rise.